
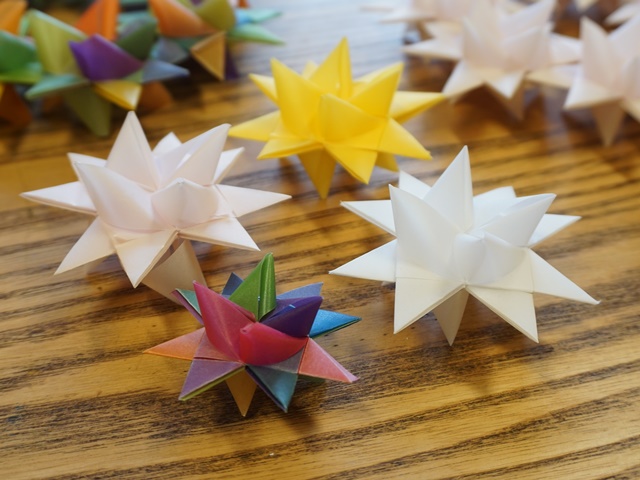
細長い紙で折る立体的な星飾り、フレーベルの星。
こんぺいとうのようにも見えて、コロコロした形が愛らしいですよね(^^)


途中で折り間違えると、「今どこを折ってるのか?この紙はどっち!?」
と、こんがらがってしまいます。
そうなると、最初からやり直し・・・ということになってしまうので、
この記事では、間違えやすいところ、難しいところのポイントを解説しながら
基本の一個の折り方をご案内します♪
今回はペロルで販売しているフレーベルの星用ペーパーを使って作ってゆきます。

ペロルでは、このような形で様々な色の紙を販売しています。
※商品ページは記事の最後でご紹介します
・細長い紙(フレーベルの星用ペーパーなど)
・ハサミ
まずは、お好きな色を4色選んでください。
4本とも同じ色でも良いですが、初めて作られる方は
4色バラバラの色を選んでいただいた方が、分かり易いかと思います。
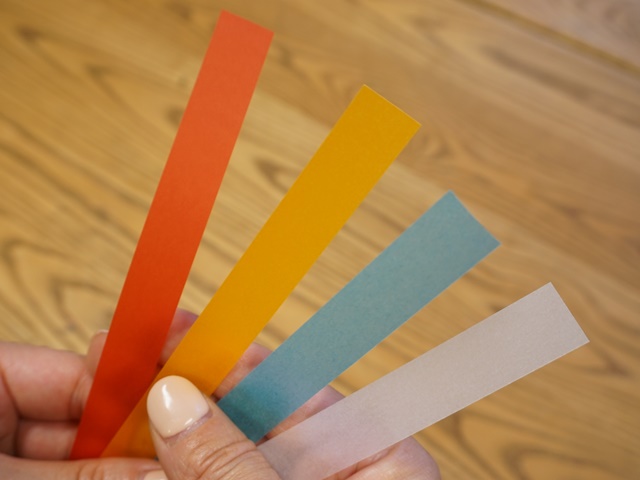
ここでは、赤、黄、青、白の4色を使って作ってゆきます。

4本の紙を綺麗に重ね二つ折りにします。
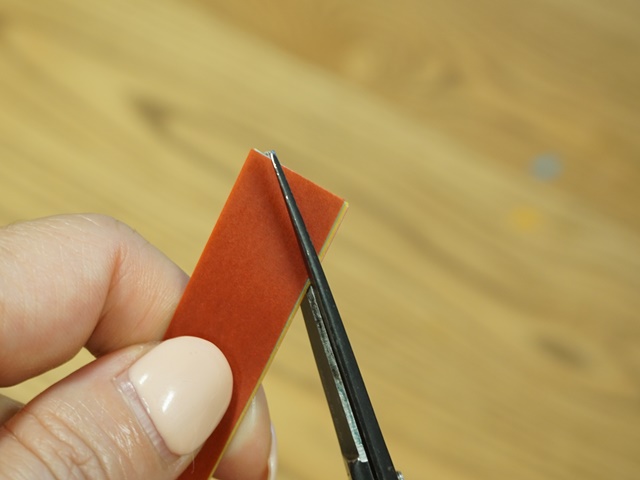
輪ではない方の端を8枚まとめて斜めにカットします。
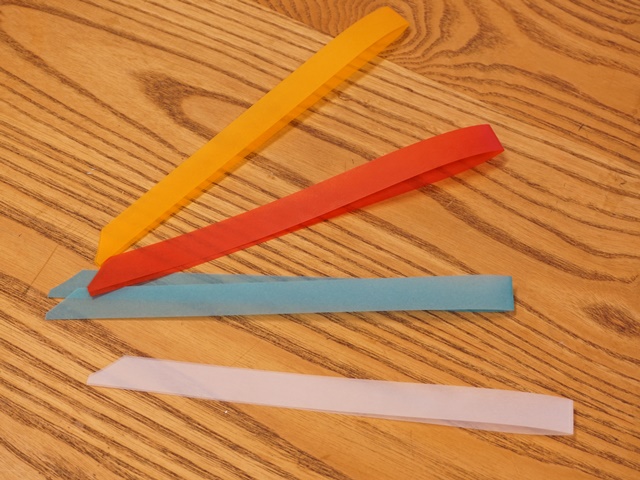
4本をバラバラにすると、こんな状態になります
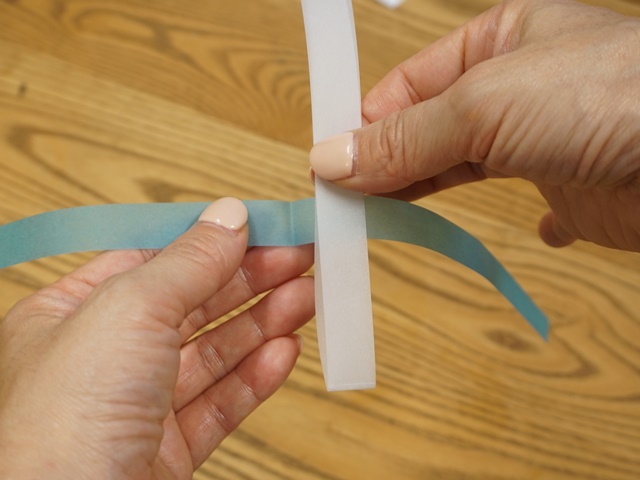
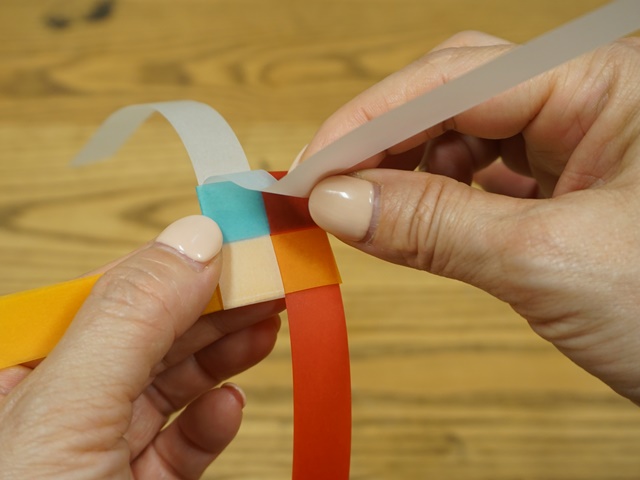
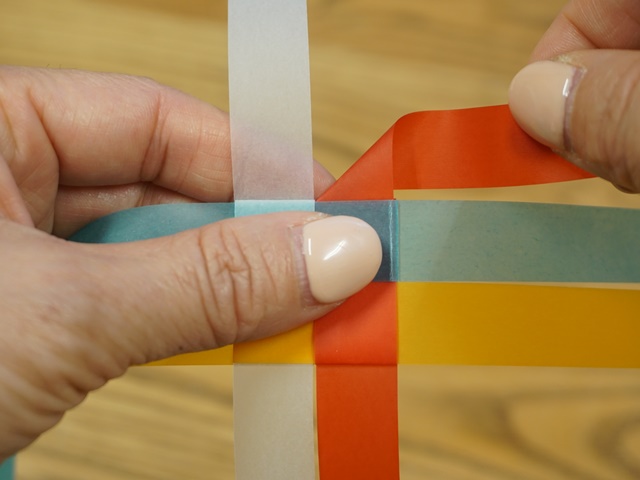
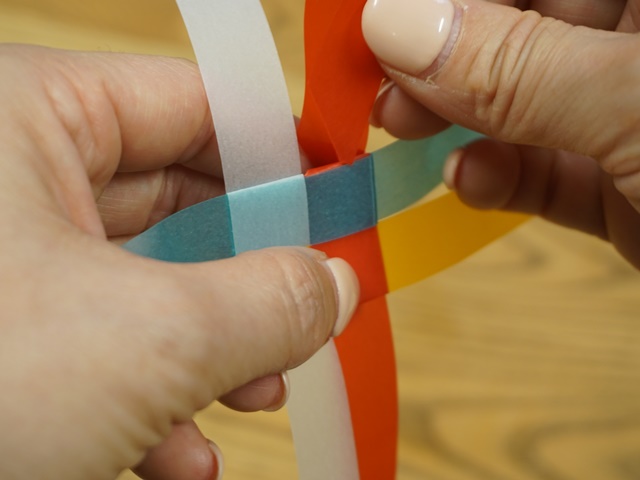
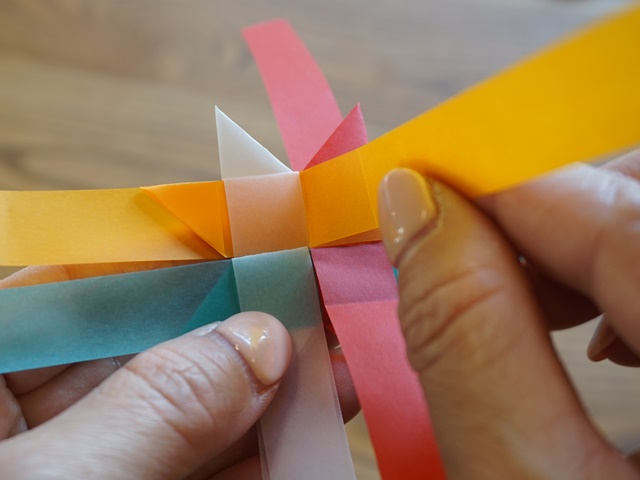
白を青で挟みます。
★間違えやすいPoint:紙の向きに注意!
白は輪になっている方が下向きです
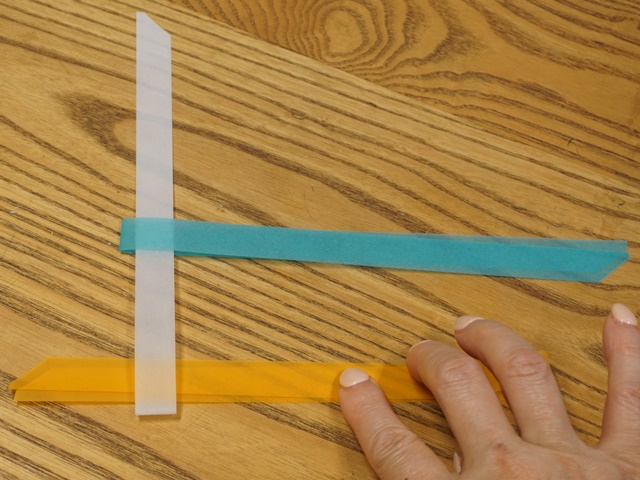
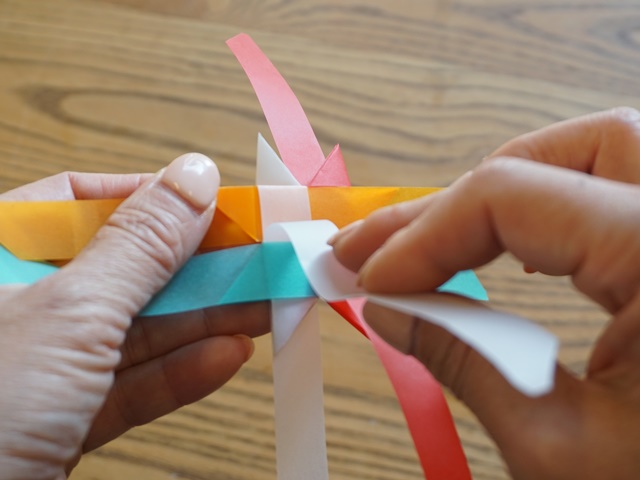
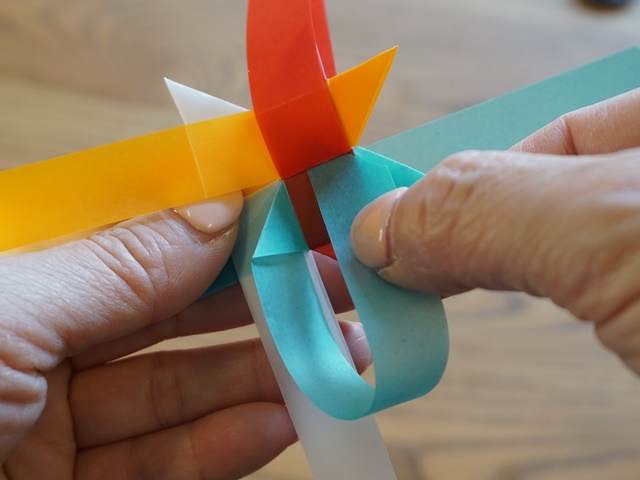
白の輪に黄を通します
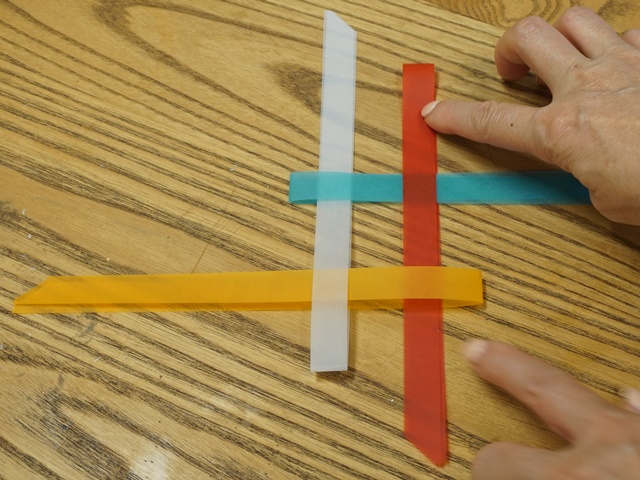
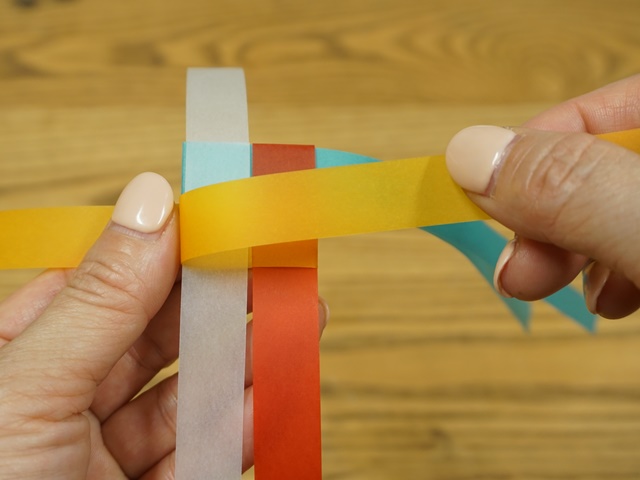
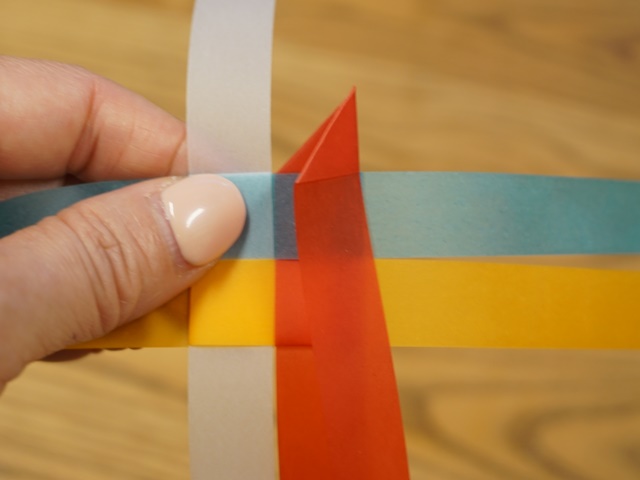
次に赤です
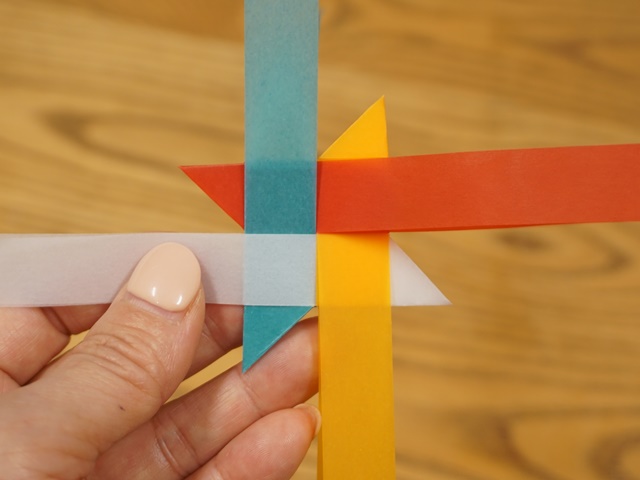
青を挟み、黄の輪に通します
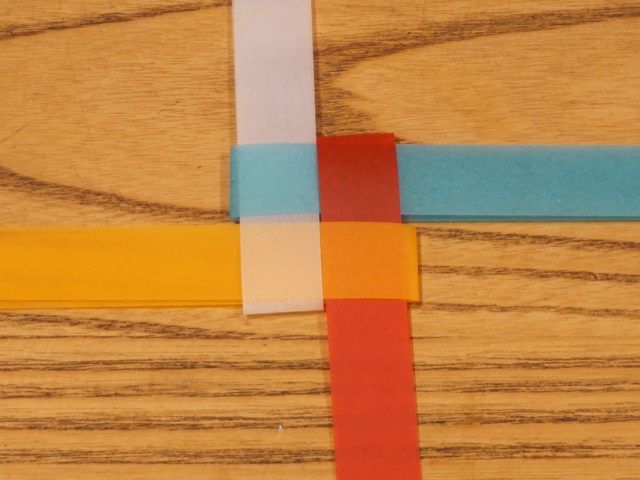
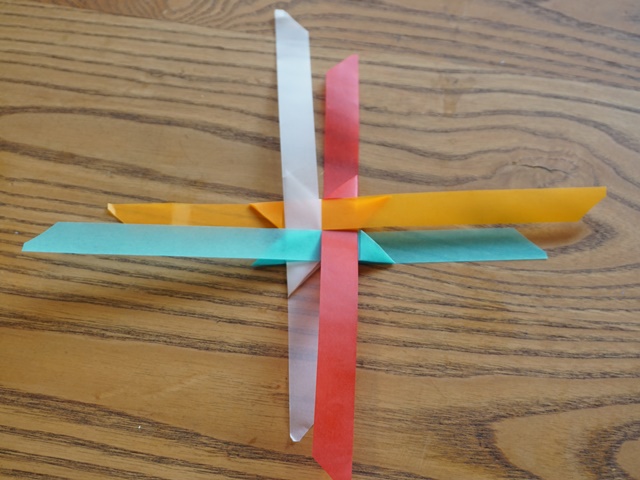
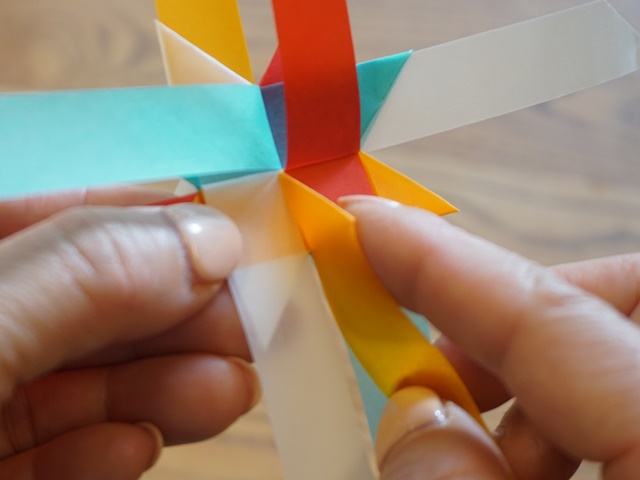
紙を引き寄せ合うと、こんな形になります
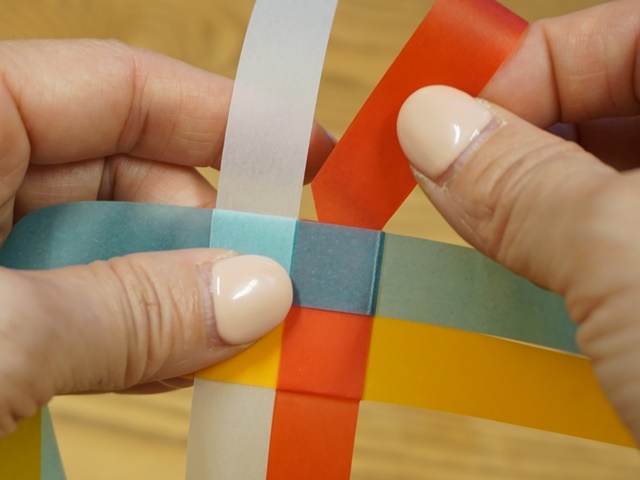
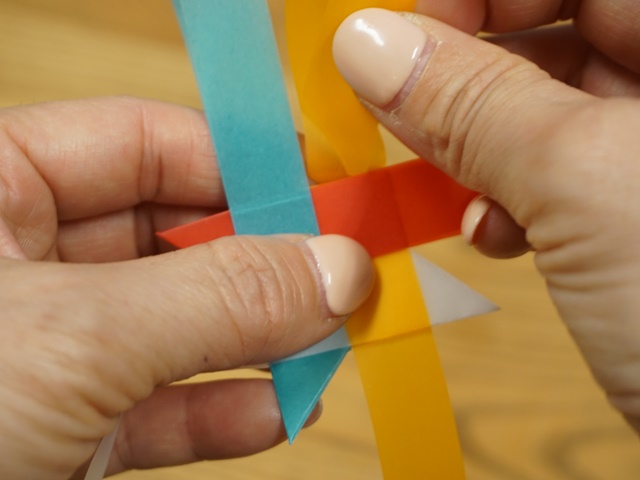
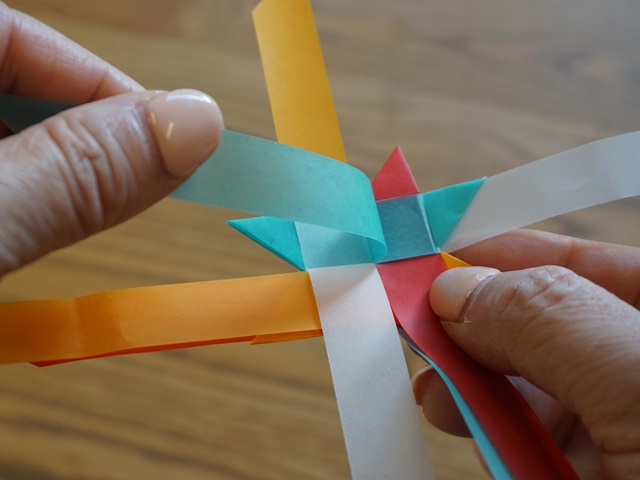
2枚重なっている紙の一枚を手前に折ります
反時計回りに、次は黄を右に折ります

次は赤、上に向かって折ります
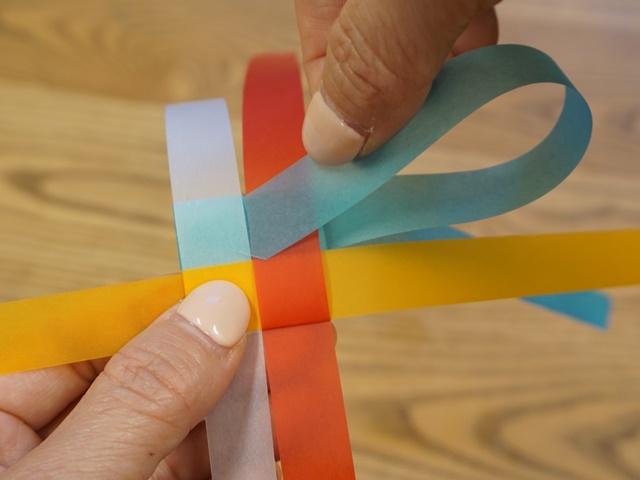
次に青、青の端は白の下に差し込みます
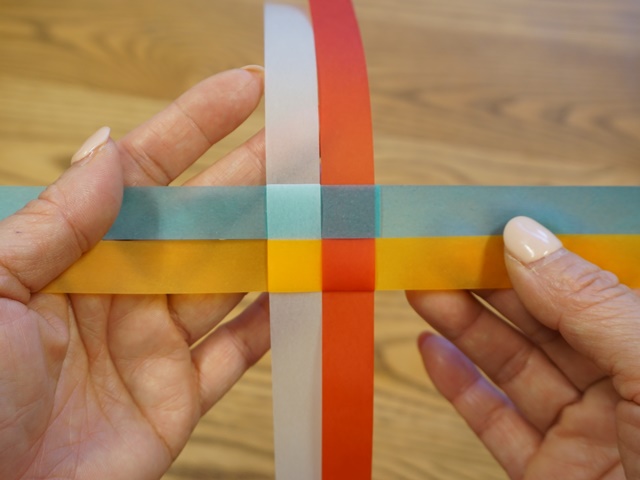
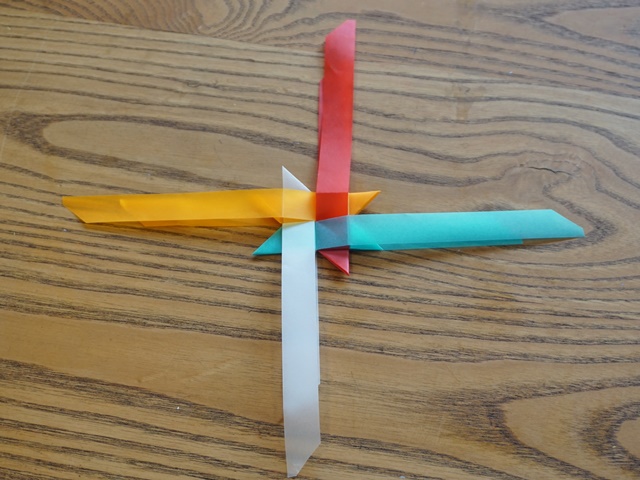
どうでしょう?この形になっていますか?
お手元のものと見比べてみて下さいね♪
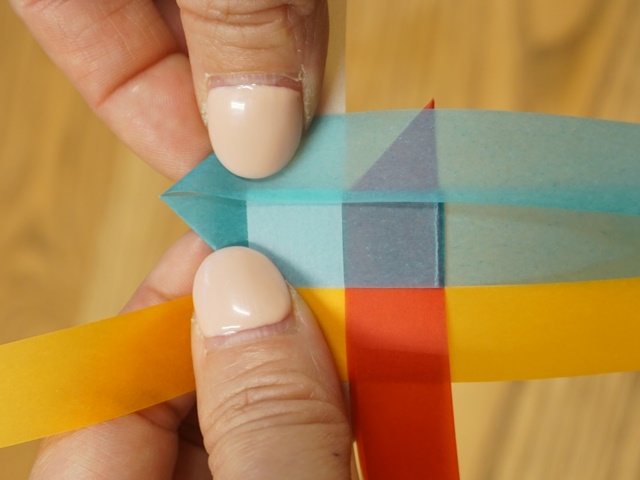
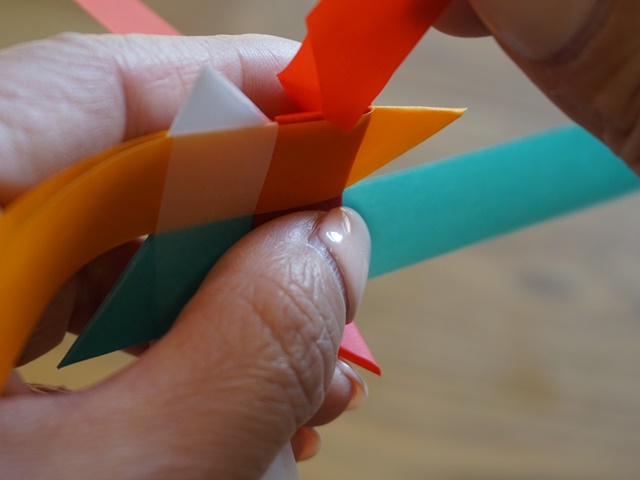
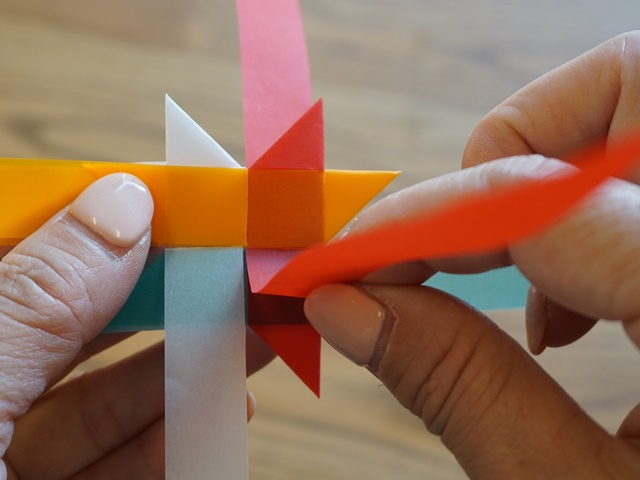
次に、赤を後ろから90度に折ります
★間違えやすいPoint:折る向きに注意!
前から90度に折らないようにしてくださいね
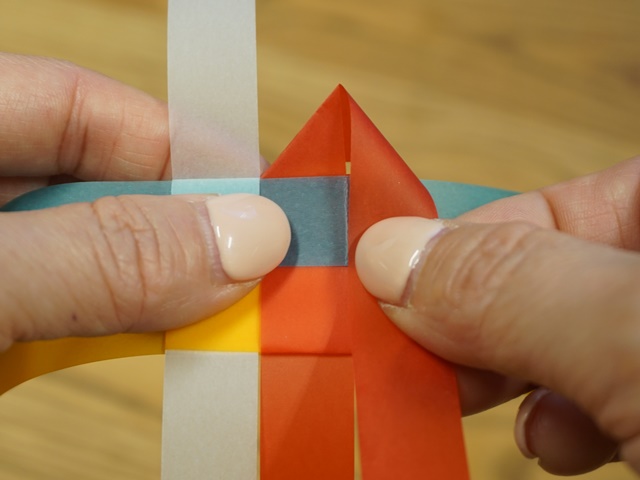
次は下へ90度に折ります
三角屋根のような形ができましたか?
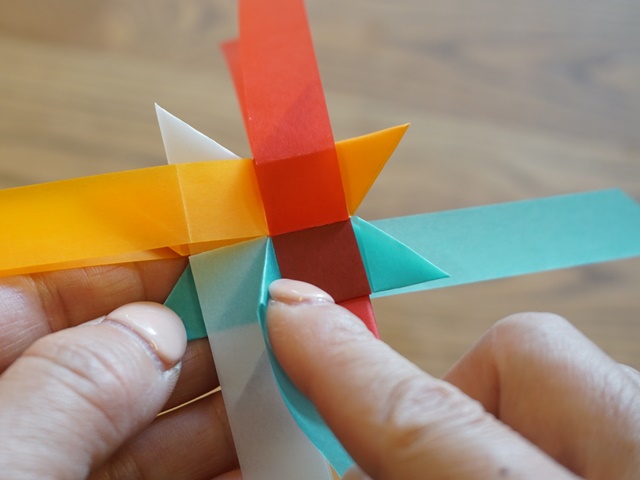
次に赤い三角屋根を二つ折りにします
そして、赤の端を青の下に差し込むのですが、
これがなかなかやりにくいのです・・・
ちょっとしたコツを次の画像で説明します

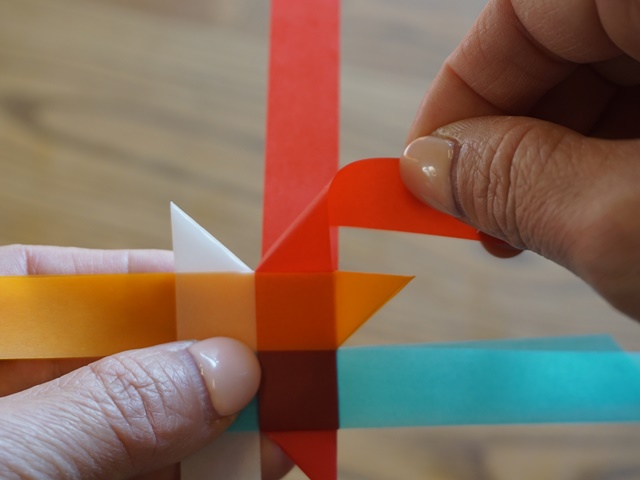
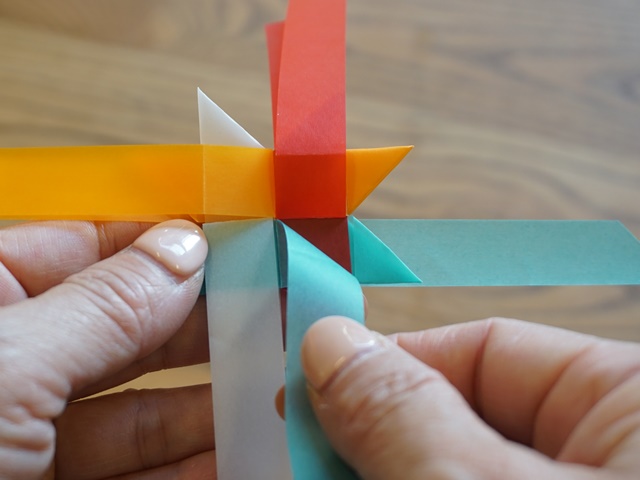
三角の角を軽く指で後ろに倒して・・・
倒した状態で紙の端を青の下に差し込んでみてください
どうでしょう?ホントにちょっとしたことなのですが、
ぐーんと差し込みやすくなりますよね♪

そして、そのまま端を引き抜くと
このような形になります
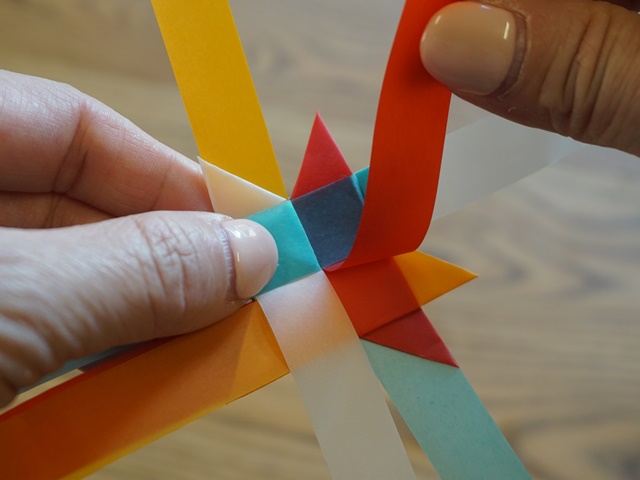
反時計回りに、同様の折り方を進めて行きますが、
次は白を飛ばして、青を折ります
次は黄色を飛ばして、白です
次は赤を飛ばして、
最後、4番目の黄色

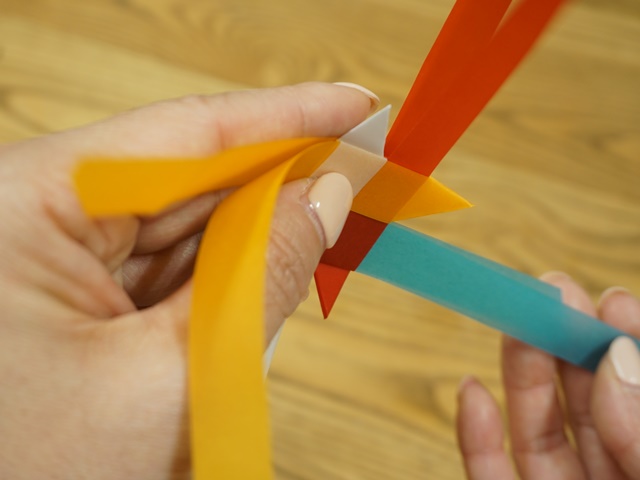
黄色を差し込む時に、被っている赤が邪魔なので、
見えやすいように、めくっておくと差し込み易いです
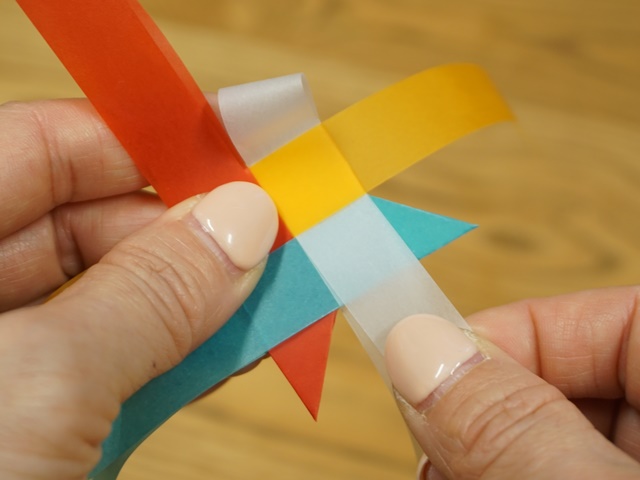
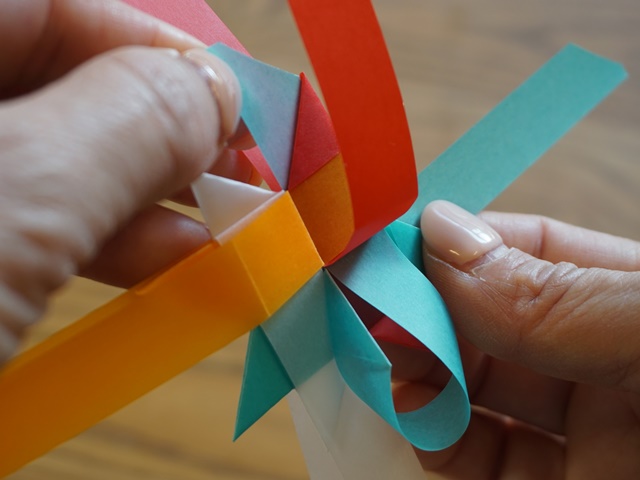
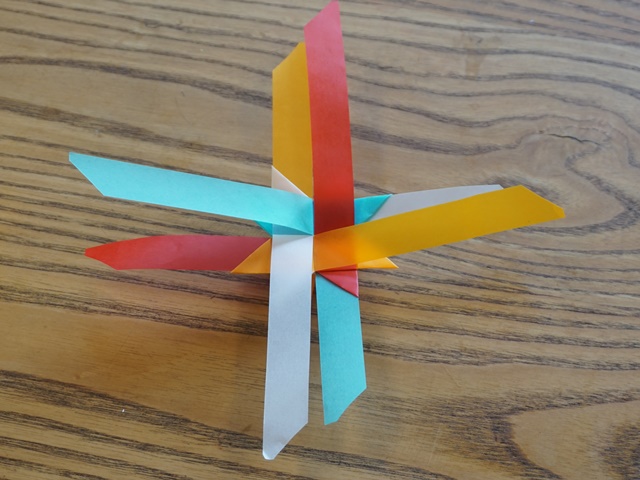
ここまでのところ、うまく折れていれば
このように手裏剣のような形になっています
再度、お手元のものと見比べてみてくださいね♪
裏面でも同じ作業をしてゆくので、
まずは、くるっと裏返してください
表で折った時と同じように
後ろ側から90度、そして手前に90度
三角屋根ができるように折り・・・
三角屋根を二つ折りにし・・・
三角を指で後ろに押さえておいて、端を差し込む・・・
赤の次は反時計回りに、黄→白→青
と、4回繰り返します
これが、裏面も4色全部折り終えた形です
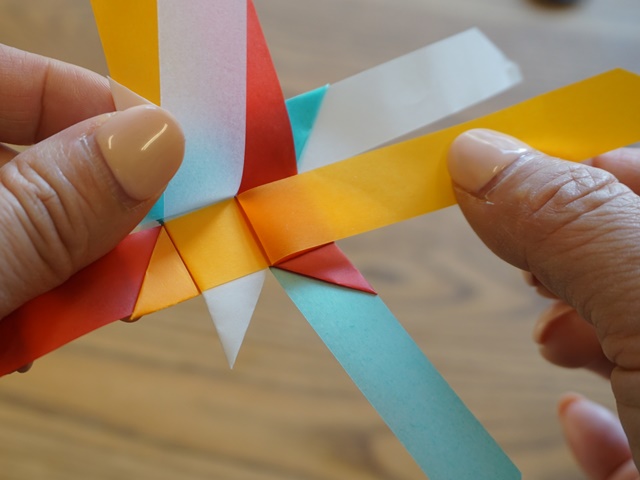
次に、左上の白を下向きに折ります
次に右横の黄色を左側に折り倒します
次は右下の赤を上に折ります

最後4本目の青を左に折ります
★間違えやすいPoint
青は白に被せて折るのではなく
白をめくって根元で折ってください
この時点で、このような形になっていればOKです
また紙の向きや形を見比べてみてくださいね♪
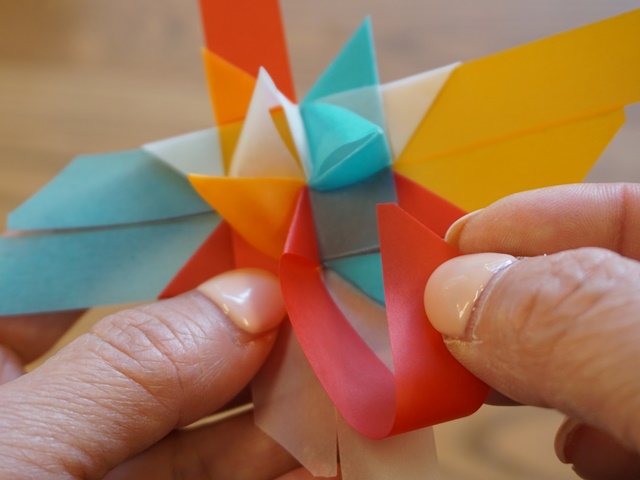
ここからいよいよ、立体になる部分に取り掛かります!
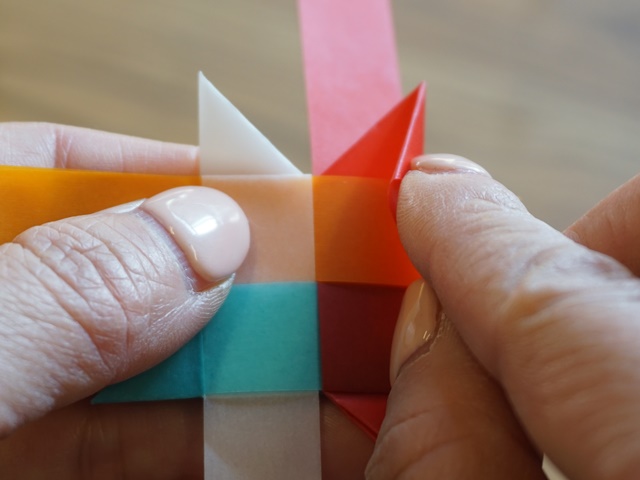
まず、青を下に90度折ります
90度に折ったところを左に折り倒します
青の端を赤の下に差し込みます
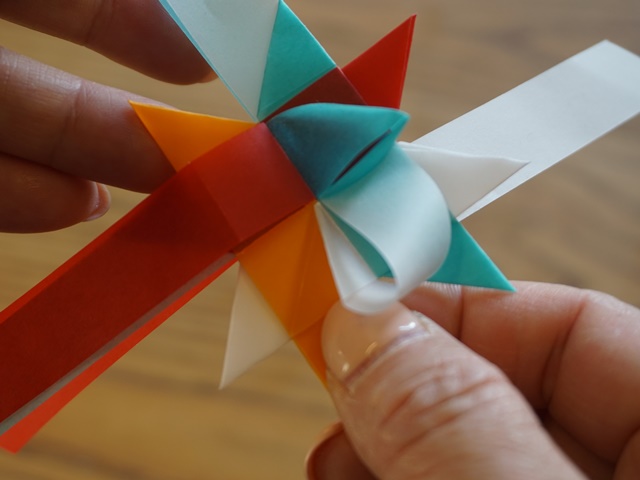
赤の下から出てきた青の端を引っぱります

きゅーっと引っ張ると、角ができましたね!
この角が、立体の部分になります♪
同じ要領で、白→黄→赤
と、4つの角を作り上げてください
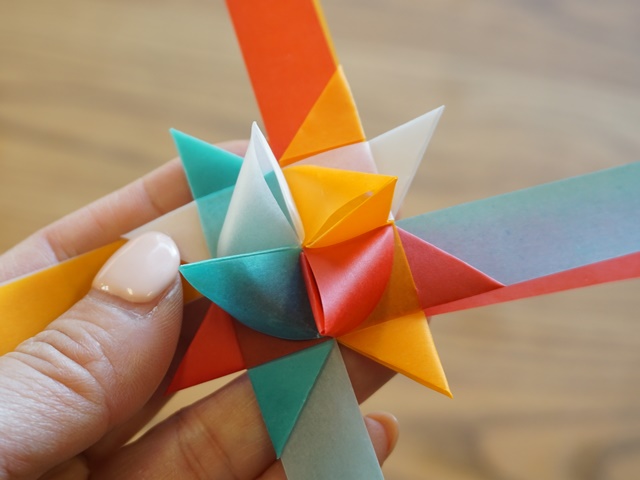
4つ折りあげた写真です
ひっくり返して作業をしますが、
できあがった表面の角を潰さないように気を付けてくださいね♪

右上の白を下に折り下げます
青を左に折ります
赤を上に
白をめくって、黄色を右に
4本折り終えると、このような形になります
次に、表面で作ったのと同様に
角を作ってゆきます
黄→白→青→赤と作り進めてゆきます
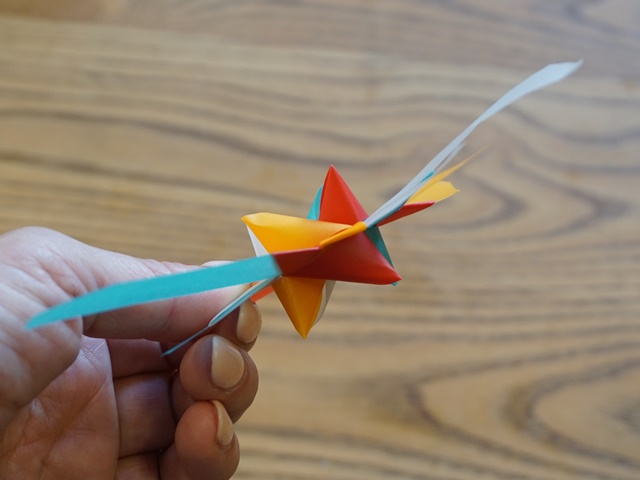
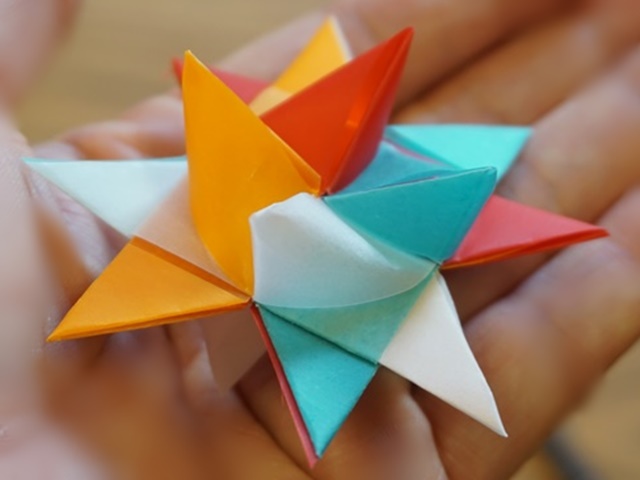
すべての角を作り終わった時の、横から見た写真です
ちゃんと立体になっていますね(^^)
できるだけ三角の際でカットします
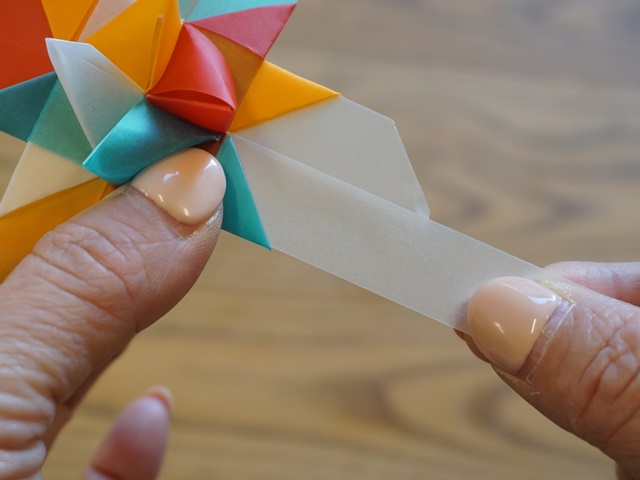
Point:切り落とす紙を少し引っ張り、
左手で固定しておいて・・・
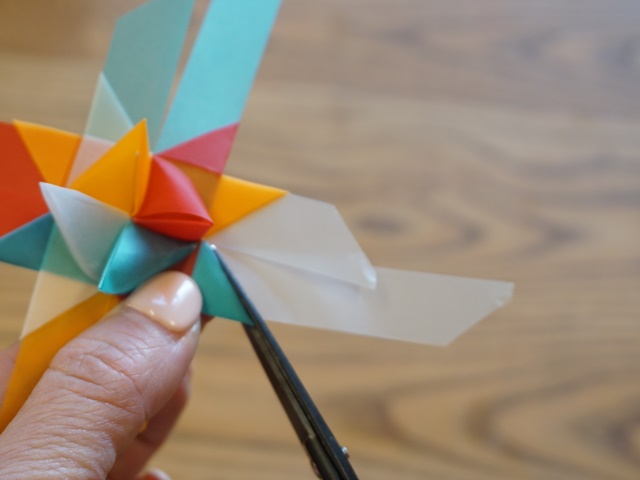
ハサミで、できるだけ際をカット
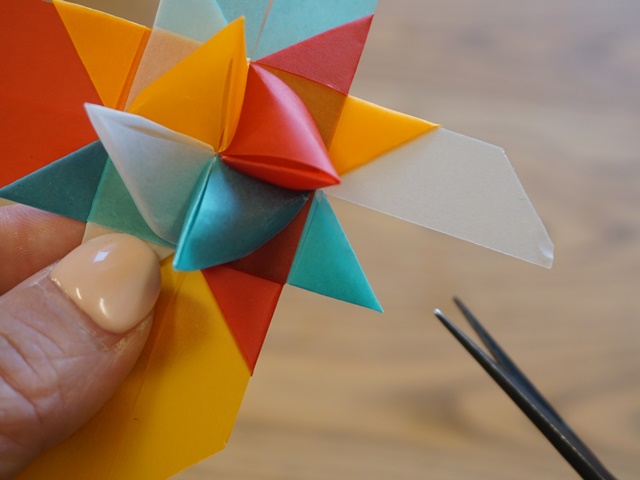
白い紙がはみ出すことなく、綺麗に始末ができました♪
この要領で、すべてカットしてゆきます
いくつか作っている内に、ピッタリと仕上がる感じが
すごく心地よく、ストレス解消になる手作業だなーなんて思いました
折り紙って、そんな効果もあるのかな!?(^^)
皆様、作ってみられたら是非感想をお聞かせください♪
作品画像も募集しています。
お送りいただいた作品画像は、工作Daysでご紹介させていただくとともに、
ペロルより、ささやかなプレゼントを贈らせていただいております♪
宛先:shop@perol.jp
スタッフ山中

こんぺいとうのようにも見えて、コロコロした形が愛らしいですよね(^^)
途中で折り間違えると、「今どこを折ってるのか?この紙はどっち!?」
と、こんがらがってしまいます。
そうなると、最初からやり直し・・・ということになってしまうので、
この記事では、間違えやすいところ、難しいところのポイントを解説しながら
基本の一個の折り方をご案内します♪
今回はペロルで販売しているフレーベルの星用ペーパーを使って作ってゆきます。
※商品ページは記事の最後でご紹介します
・細長い紙(フレーベルの星用ペーパーなど)
・ハサミ
まずは、お好きな色を4色選んでください。
4本とも同じ色でも良いですが、初めて作られる方は
4色バラバラの色を選んでいただいた方が、分かり易いかと思います。
★間違えやすいPoint:紙の向きに注意!
白は輪になっている方が下向きです
青を挟み、黄の輪に通します
お手元のものと見比べてみて下さいね♪
★間違えやすいPoint:折る向きに注意!
前から90度に折らないようにしてくださいね
三角屋根のような形ができましたか?
これがなかなかやりにくいのです・・・
ちょっとしたコツを次の画像で説明します
どうでしょう?ホントにちょっとしたことなのですが、
ぐーんと差し込みやすくなりますよね♪
このような形になります
次は白を飛ばして、青を折ります
最後、4番目の黄色
見えやすいように、めくっておくと差し込み易いです
このように手裏剣のような形になっています
再度、お手元のものと見比べてみてくださいね♪
まずは、くるっと裏返してください
後ろ側から90度、そして手前に90度
三角屋根ができるように折り・・・
赤の次は反時計回りに、黄→白→青
と、4回繰り返します
★間違えやすいPoint
青は白に被せて折るのではなく
白をめくって根元で折ってください
また紙の向きや形を見比べてみてくださいね♪
ここからいよいよ、立体になる部分に取り掛かります!
この角が、立体の部分になります♪
と、4つの角を作り上げてください
ひっくり返して作業をしますが、
できあがった表面の角を潰さないように気を付けてくださいね♪
角を作ってゆきます
ちゃんと立体になっていますね(^^)
できるだけ三角の際でカットします
左手で固定しておいて・・・
この要領で、すべてカットしてゆきます
いくつか作っている内に、ピッタリと仕上がる感じが
すごく心地よく、ストレス解消になる手作業だなーなんて思いました
折り紙って、そんな効果もあるのかな!?(^^)
皆様、作ってみられたら是非感想をお聞かせください♪
作品画像も募集しています。
お送りいただいた作品画像は、工作Daysでご紹介させていただくとともに、
ペロルより、ささやかなプレゼントを贈らせていただいております♪
宛先:shop@perol.jp
スタッフ山中
★商品のご紹介★
フレーベルの星用ペーパー
フレーベルの星飾りを折るのに最適な、
適度な厚みと若干の透け感のある紙です
※商品ページが別ウインドで開きます